
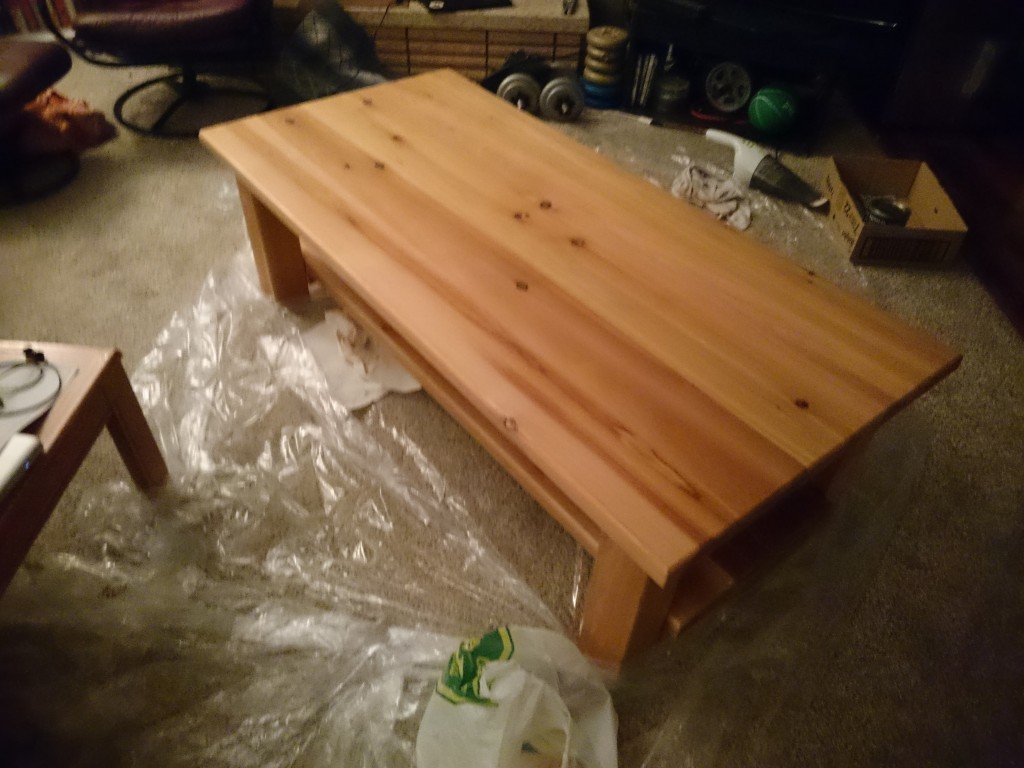
This post continues my documentation of my EC&I 831 Learning Project, where I am making my own coffee table.
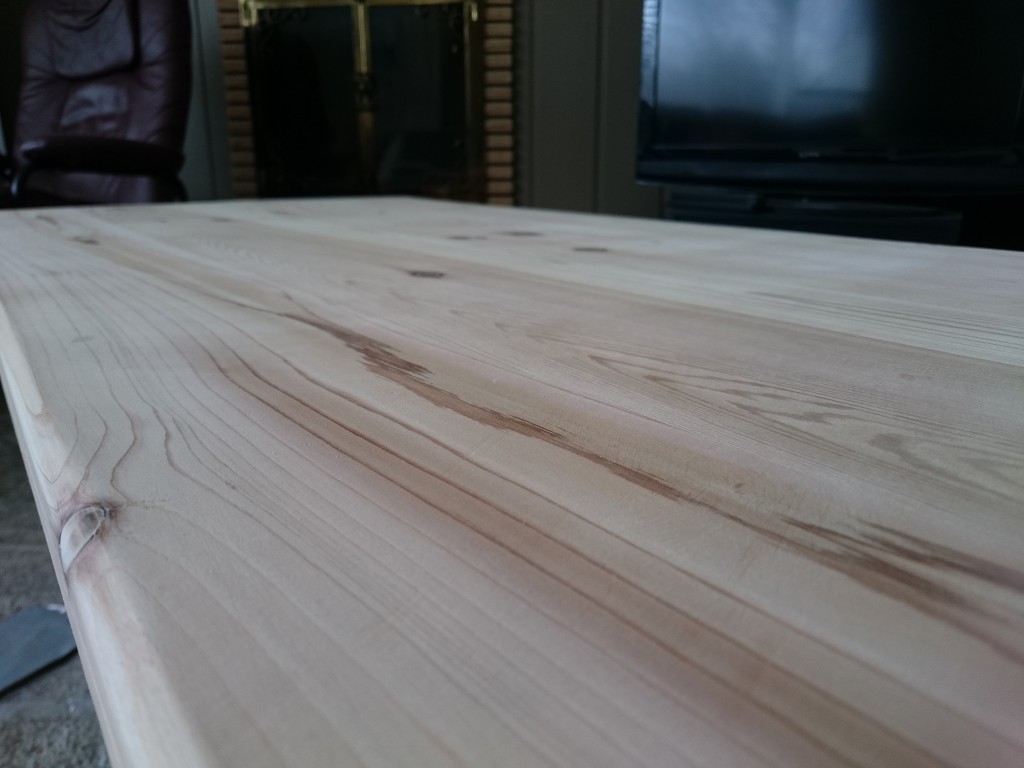
The last step of my coffee table was to put a coat of polyurethane on it. The wood I chose, cedar, is really soft and marks up quite easily – just running a fingernail over it left a mark. The polyurethane coat will protect it from this and add some durability to the surface, which will be used daily one way or another.
I went to Home Depot and got some polyurethane. I really had no idea what I was doing here, and couldn’t find anyone to help. So, I took a shot in the dark and purchased a can that looked good along with some foam brushes. Before starting to apply it to my table, I headed over to YouTube and found this great, cheesy resource. I was not planning on staining the table, since the natural colour is just great.
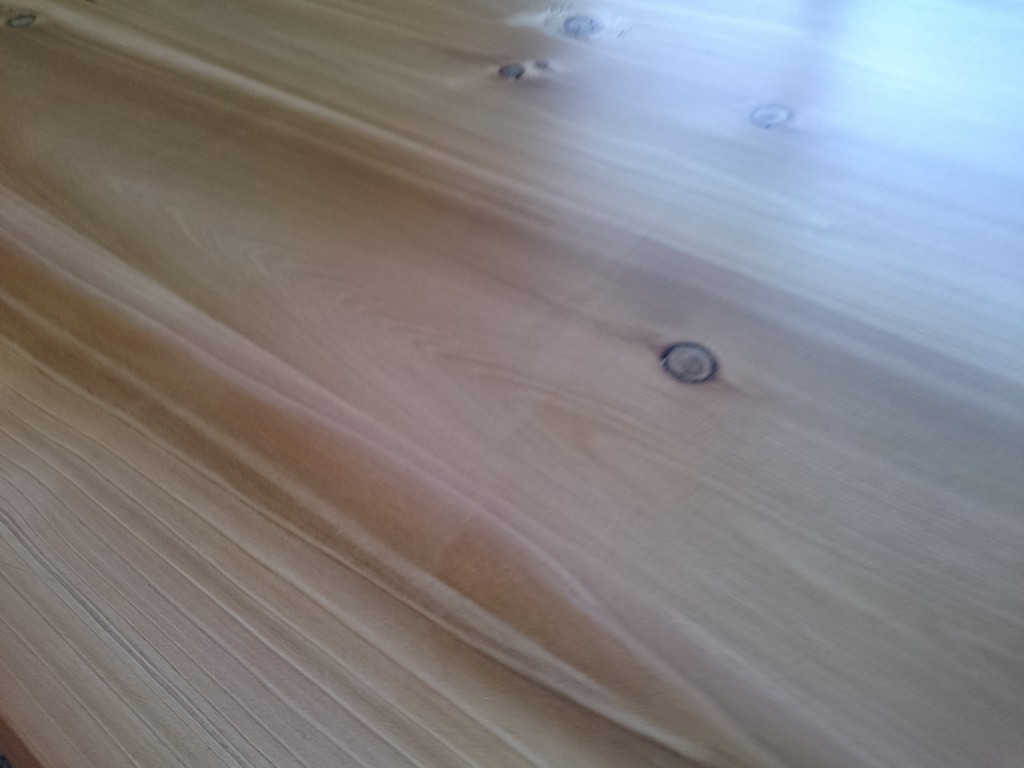
So, I read the instructions listed on can and went for it. Here is my progress of applying the protective coating.
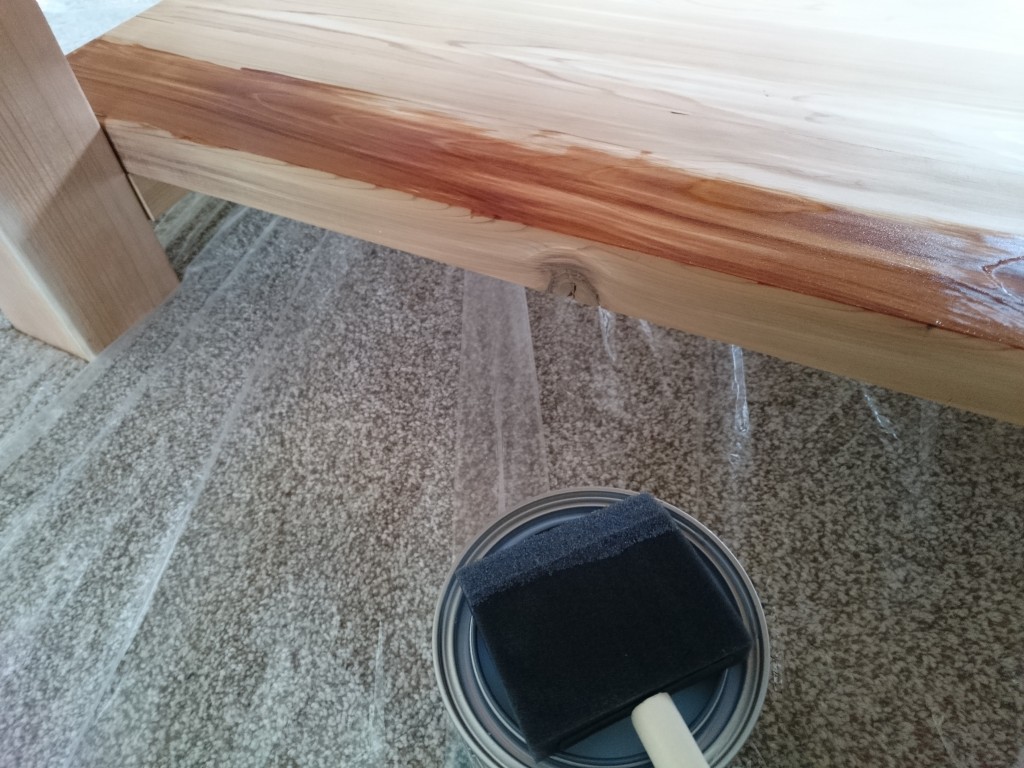
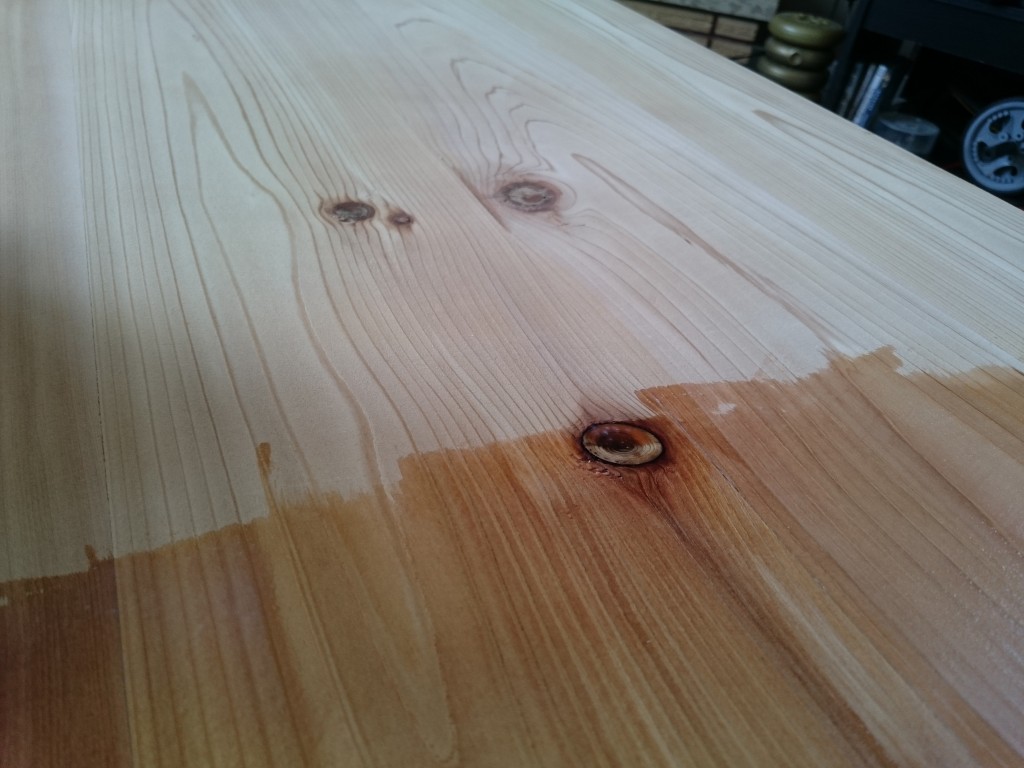
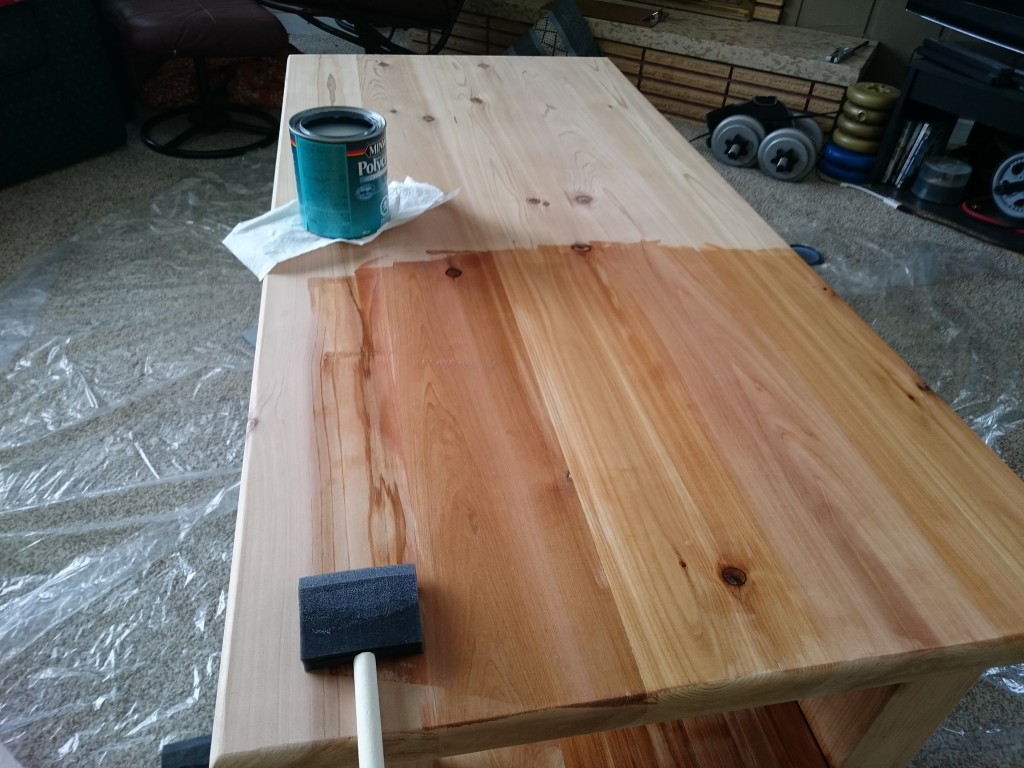
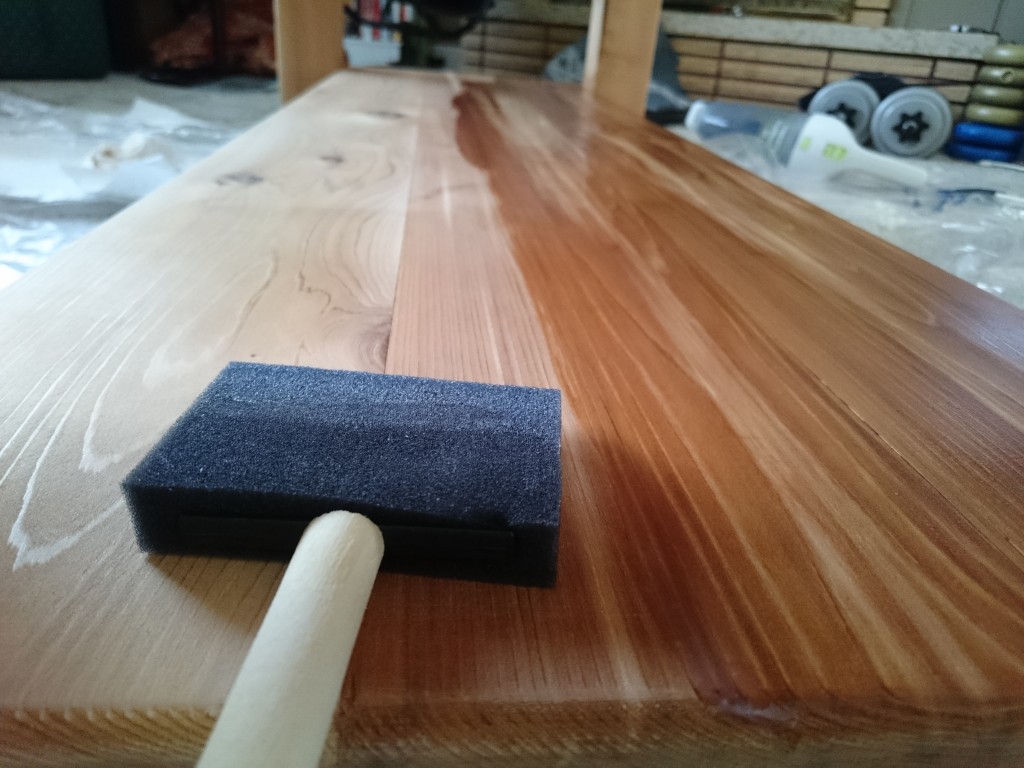
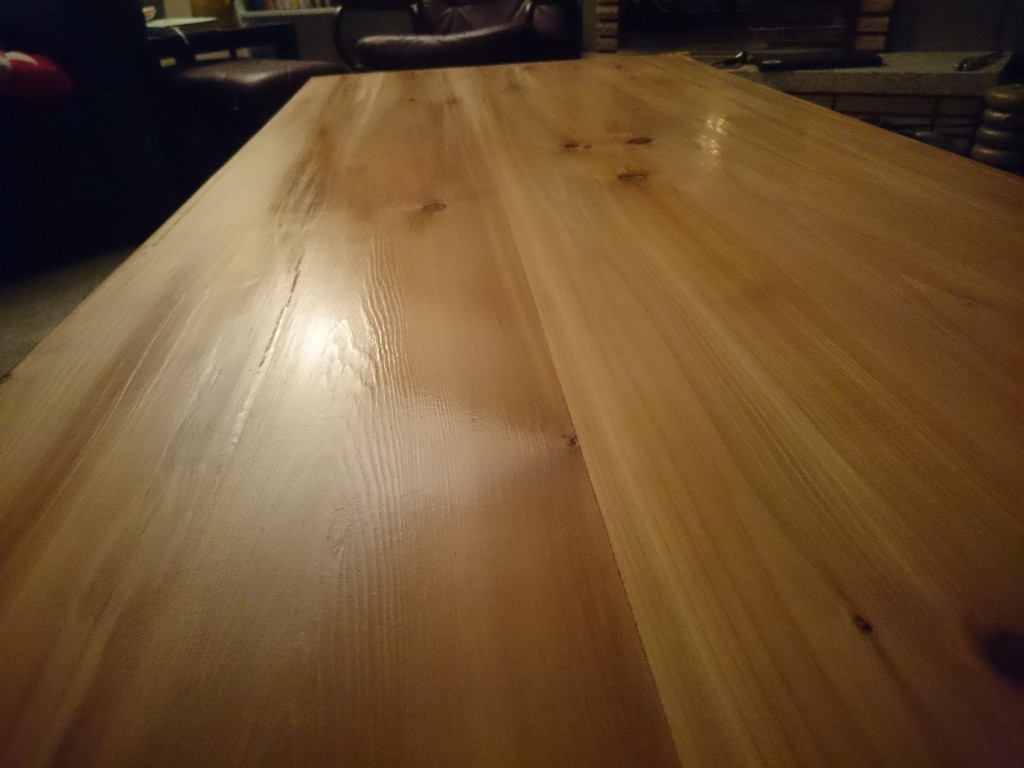
This process took quite a bit of time. Luckily, the poly I chose had only a 2 hour wait period between coats, others have longer periods. Between each layer, I had to take a fine (220) sand paper and try to even out the previous application of the poly. I was able to complete this over the course of 8 hours.
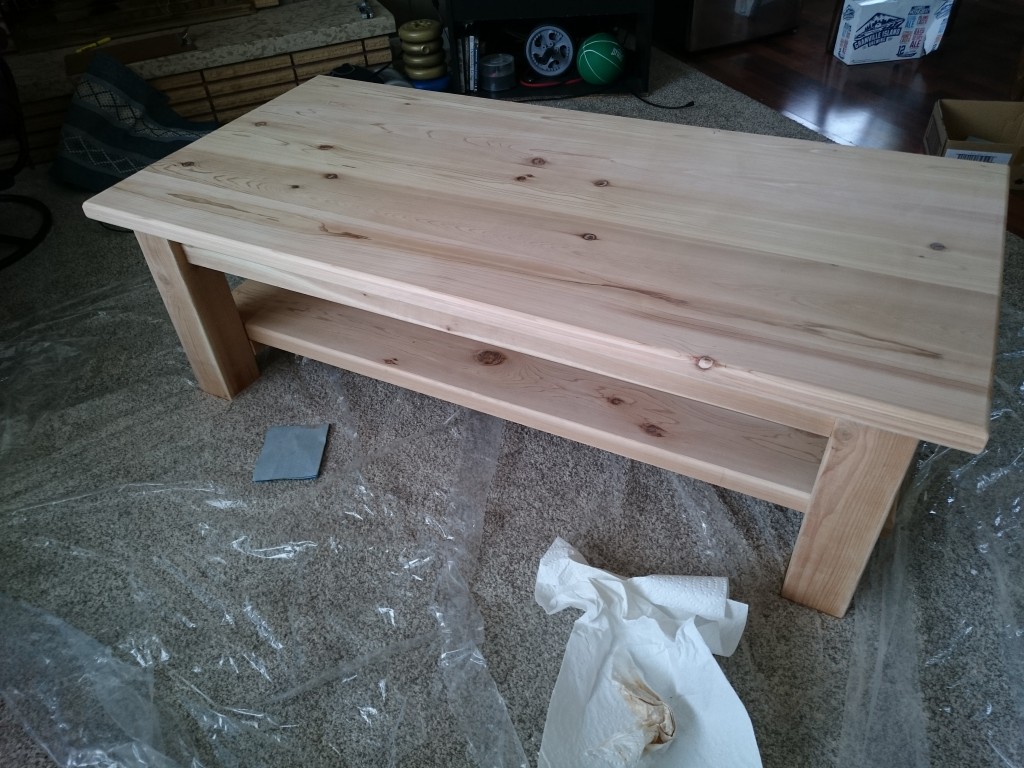
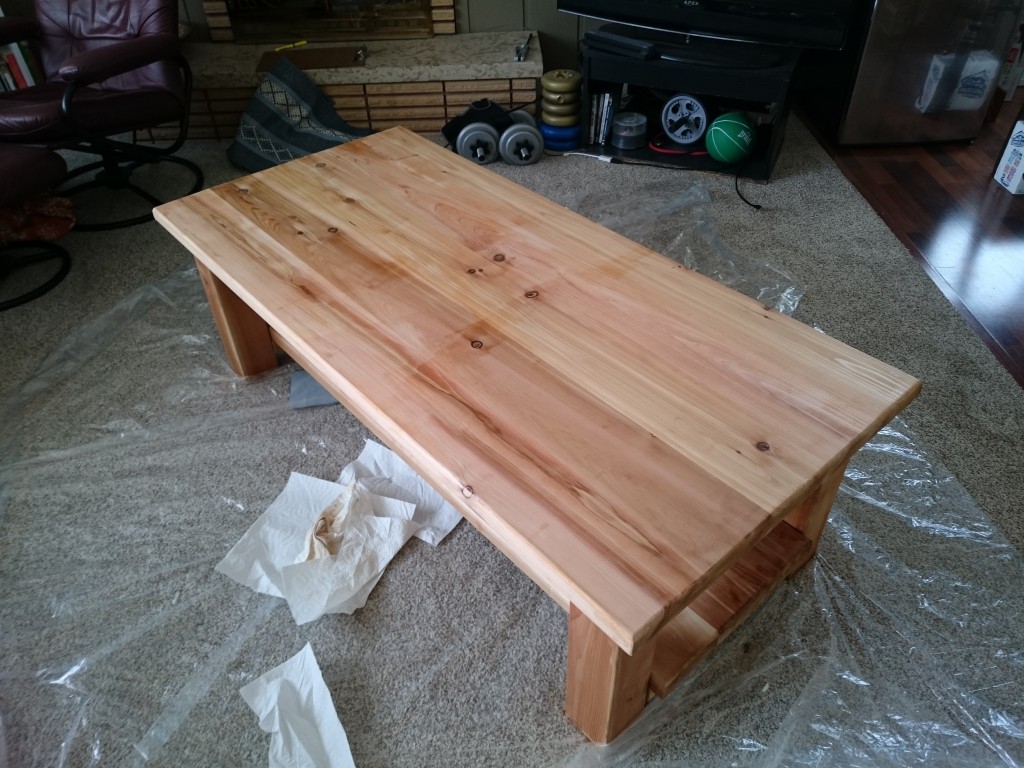
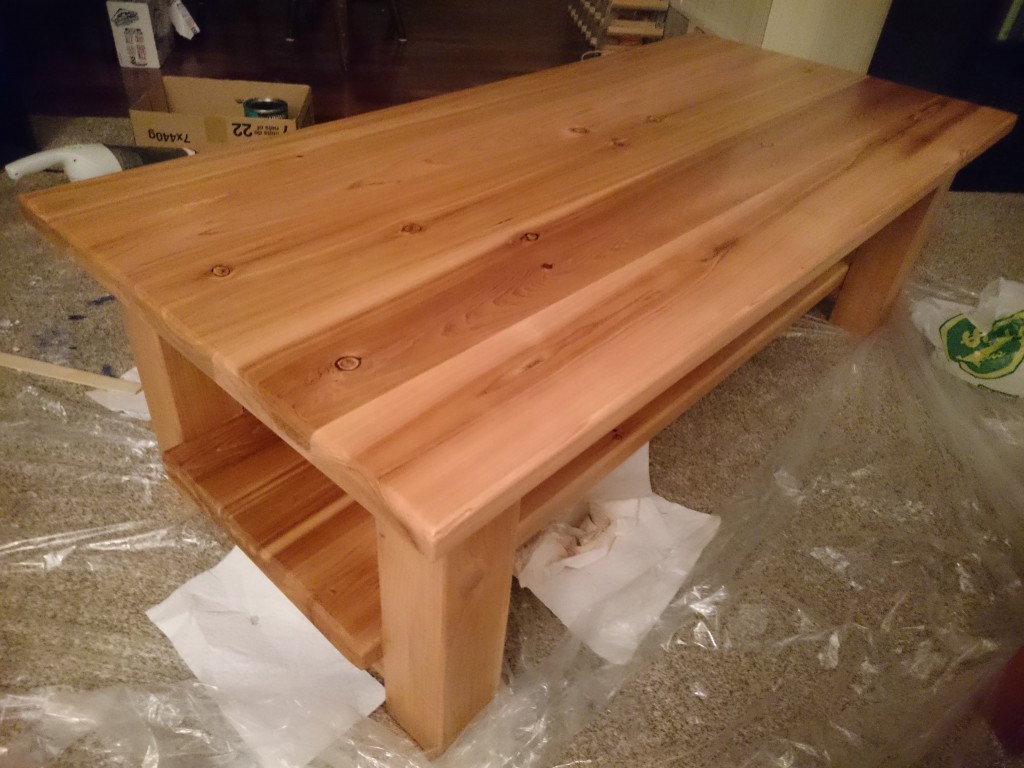
I let the last coat dry overnight and woke up to a final product that I’m quite proud of.
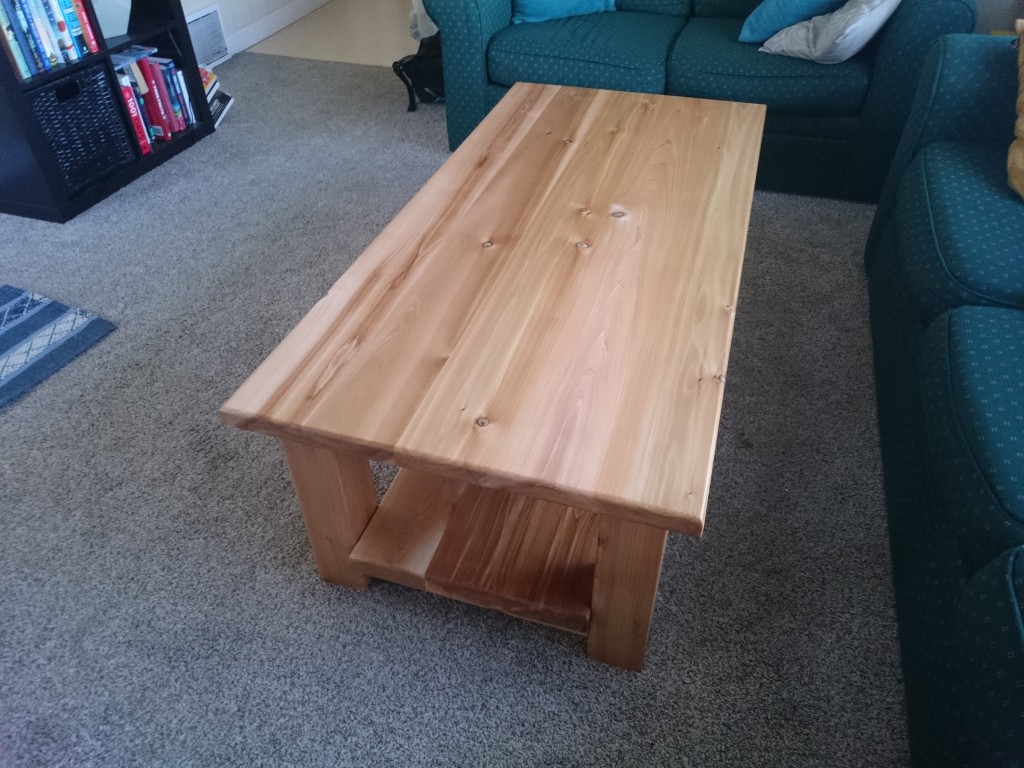
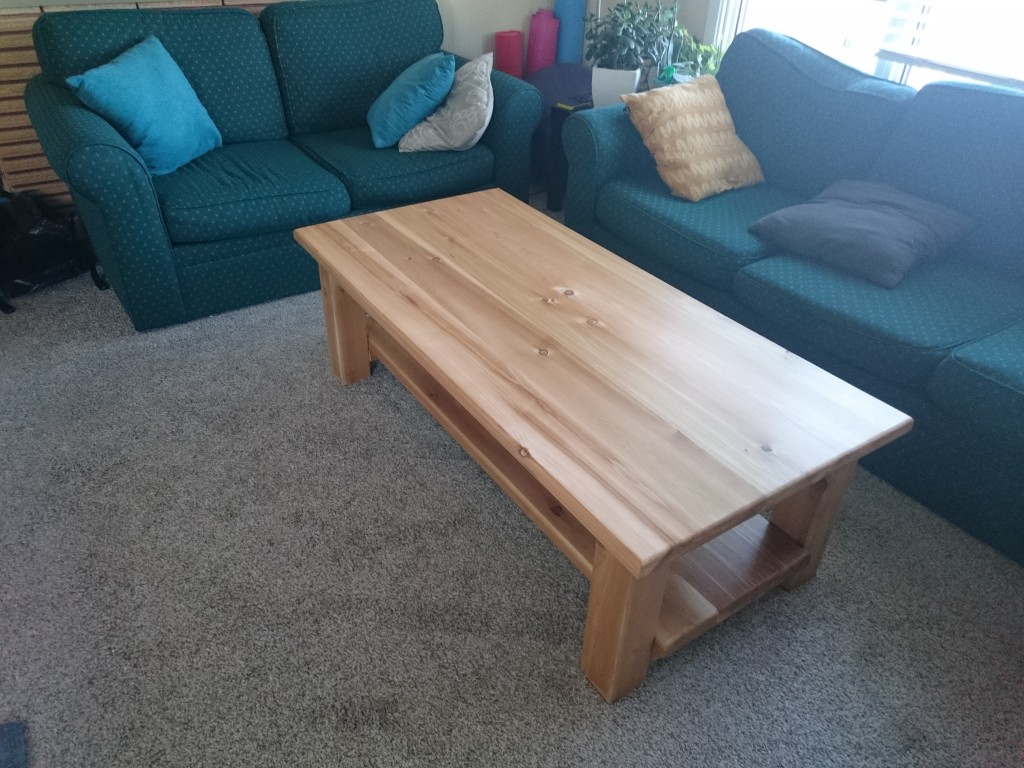
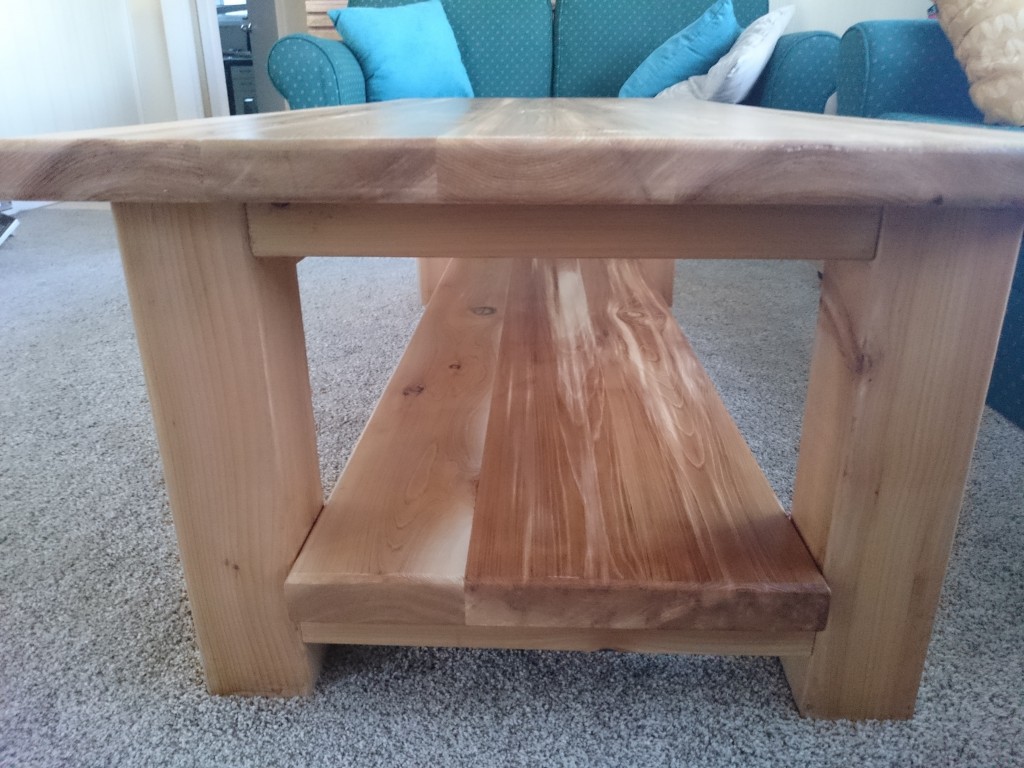
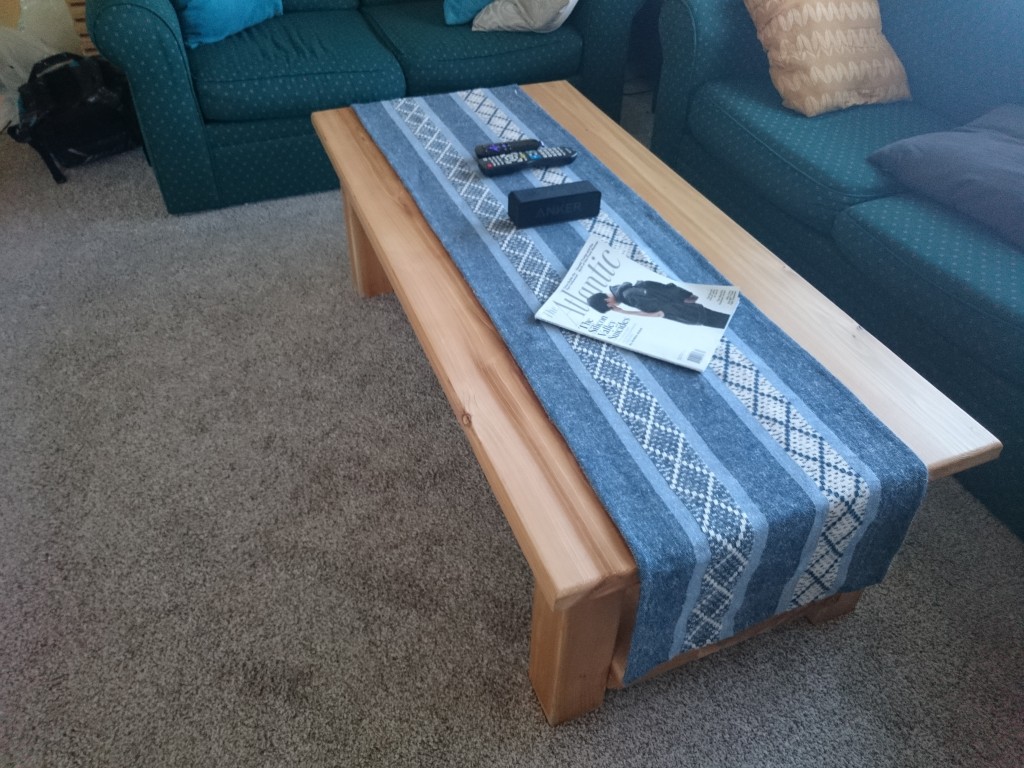

And that’s it. I made a table.
Applying the polyurethane was pretty straightforward, although it’s difficult to say if I put enough on (4 coats). It is my hope that this table will last quite a long time and I can continue to grow and learn about woodworking and make my own furniture as I want.
I will be posting a reflection on the process of trying to learn how to do this online following this post.


Congratulations, and well done! Poly will help when you inevitably put a sweating glass onto the table directly. Still, I recommend your next project be a set of coasters! Keep up the good work. You should be happy with what you made.
Thanks, Algot! I am already planning a set of coasters similar to those found at http://www.instructables.com/id/Wood-coasters/. I’m looking forward to learning more about woodworking and shifting towards making rather than buying when I can.
That’s gorgeous! Good work!
Thanks, Janelle! It turned out much better than I expected when I first started.