This post continues my documentation of my EC&I 831 Learning Project, where I am making my own coffee table.
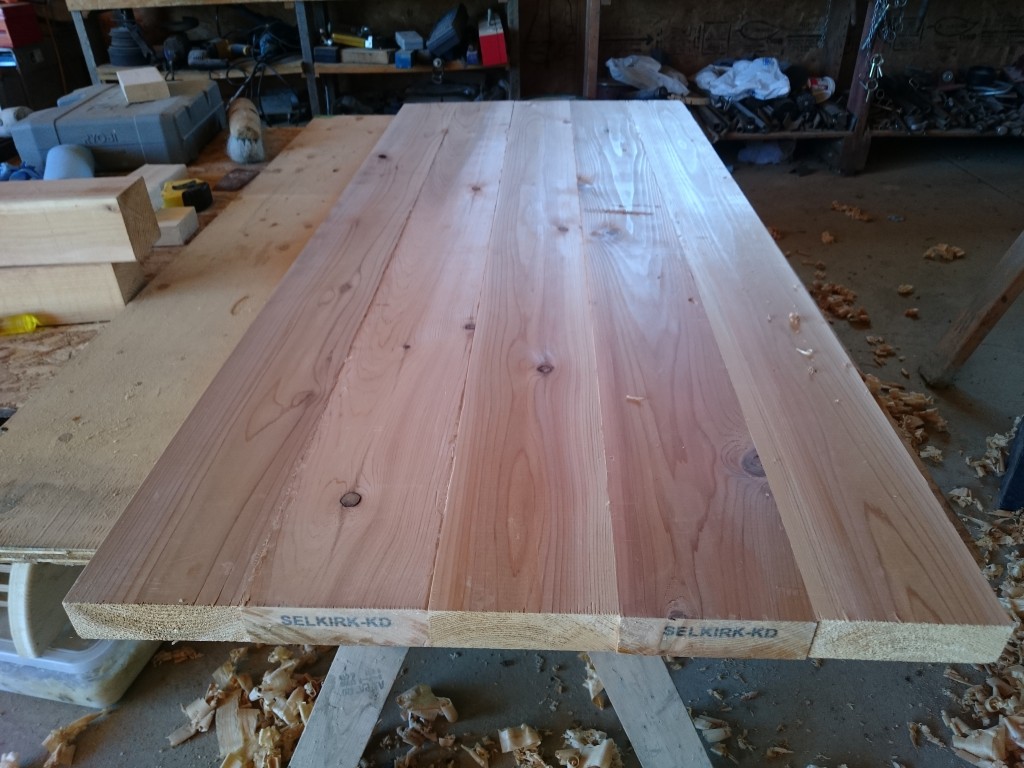
At this point, I have all my cuts made and have glued together the top panel surface and bottom shelf surface for my table.
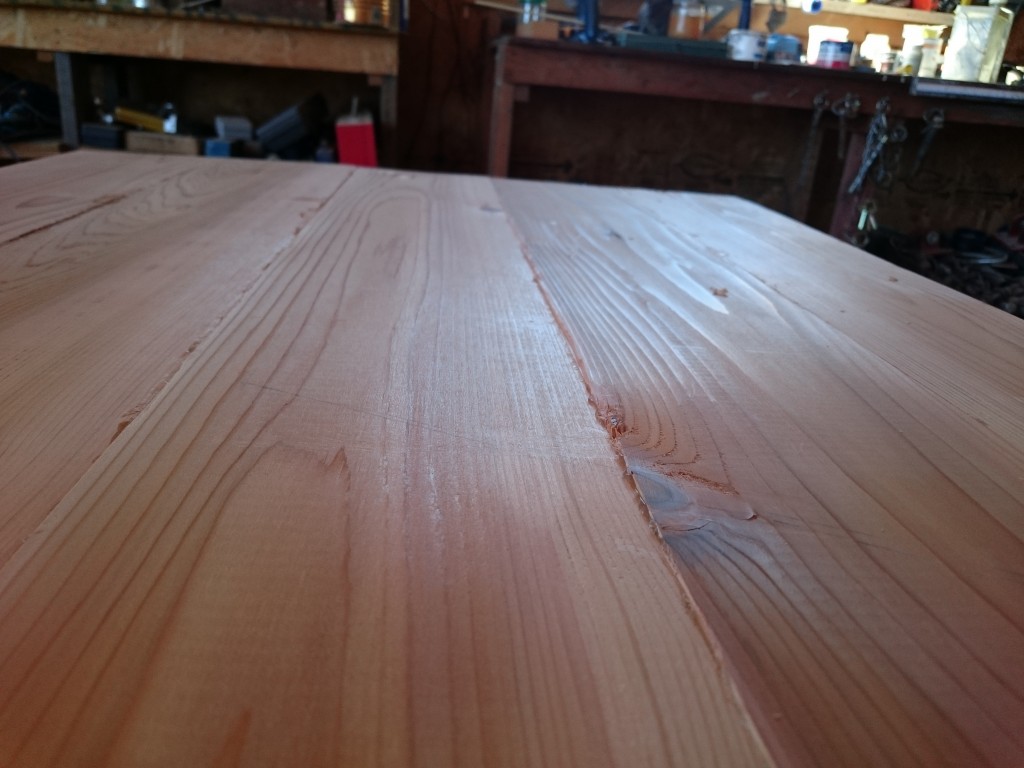
Running my hand over the top of these surfaces revels that my gluing skills need some work. There are what I’m calling “steps” along my boards, where you can easily feel the difference between boards from the lip they created.

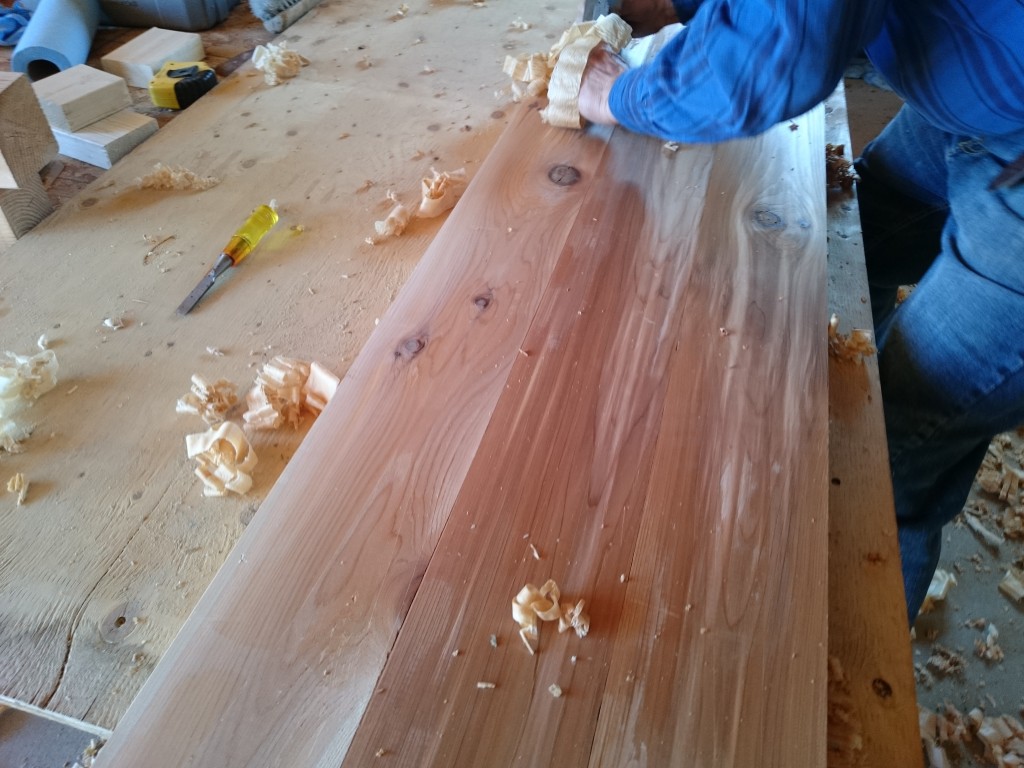
To solve this problem, I turned to a hand planer. Apparently there are a number of hand planes to choose from. I used the one I had access to, which I believe would be considered a bench plane.
This video goes through a number of things about hand planers, but also talks about using the plane to go with the grain of the wood.
Once I started with the planer, it became evident it was going to take quite a while to get the boards right where I wanted them. The entire planing process took me about four hours to complete. At times it was painfully slow, but a great way to use my hands and disconnect mentally from the thousand things running through my mind. Below are some pictures and video clips of the process.
This is quick clip I recorded while I was being shown how to use the hand planer.
https://youtu.be/25FxX5d-hpg
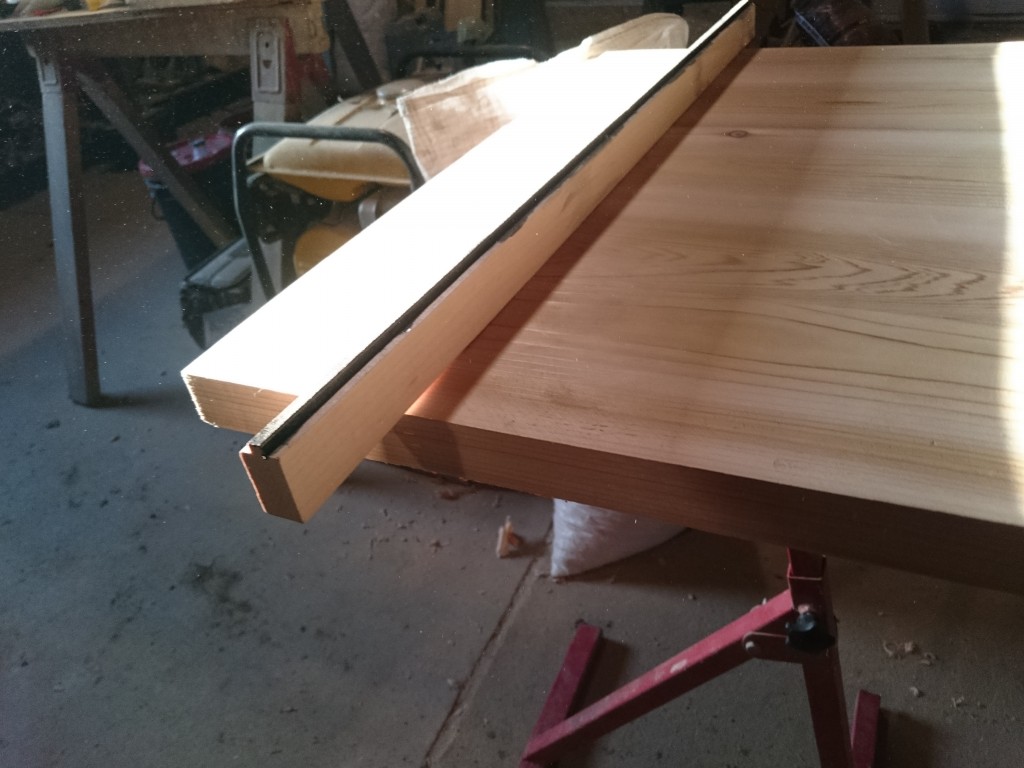
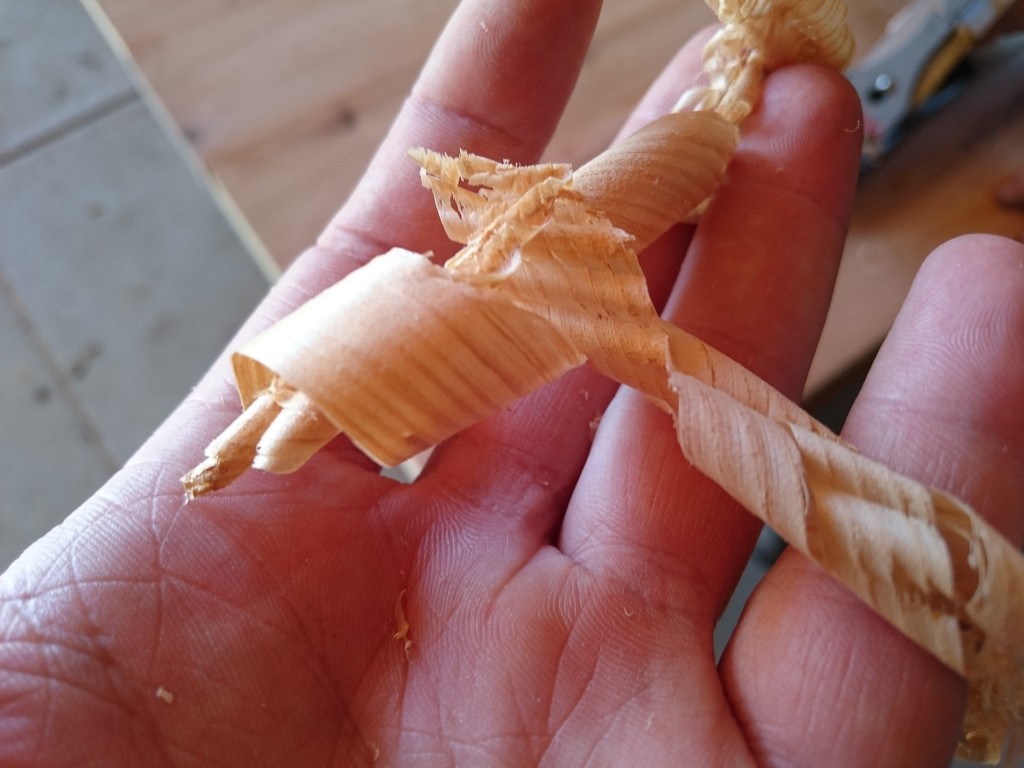
This step was certainly not expected in my prior research. I did not anticipate the time and sweat it would take to get the surface flush, flat, and smooth. That being said, using the hand planer could only be described as fun. The paper thin shavings of wood were really neat and I gained a deeper appreciation for flat wood panelled surfaces.
This portion of my project was difficult to find resources online to guide me. For almost every other portion of the project, there was a plethora of videos and guies. This topic had a few, but certainly not the amount. Luckily, once I started the process of planing the panels, it was quick to learn and I was able to give myself my own feedback by running my hand over the board to identify any not flat spots.