This post is part of my EC&I 831 Learning project.
I had my plan. I had my supplies. Now it was the scary step of starting to put things together.
I knew exactly how long I needed all of my pieces need to be after spending the time to create my SketchUp Model.
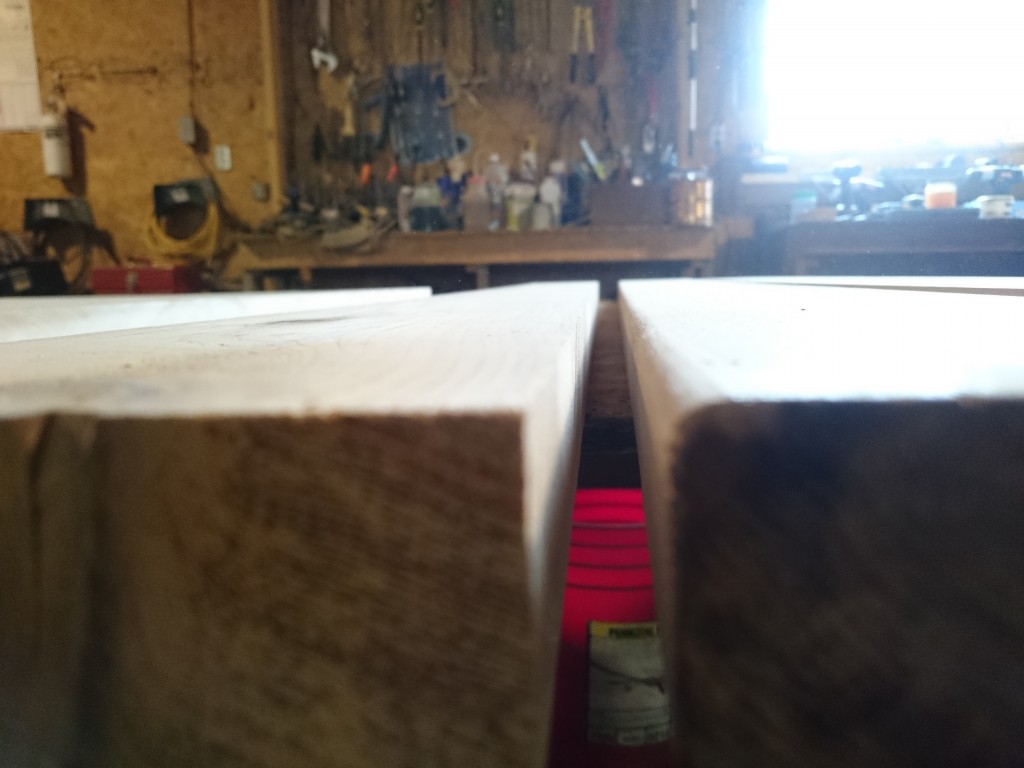
The first problem I encountered was that I wanted all of my boards to lie flush against each other for the top and bottom surfaces. However, the lumber I bought had rounded edges all the way around. This video got me started on that process, called squaring the lumber.
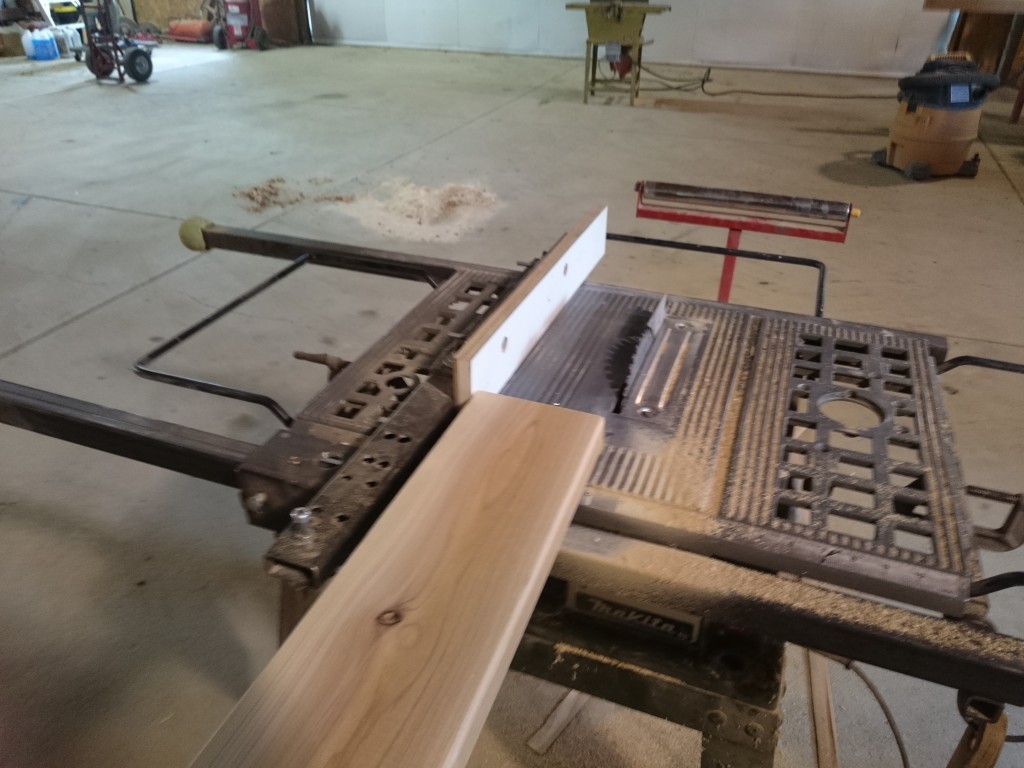
Basically, I used a table saw to cut off the edges of each piece to get rid of the curved piece. Then, just to make sure things were perfectly squared up, I ran them threw a planer. This might have been overkill, but it turned out great.
Then, it came time to trim things down. I found a couple tips for measuring from YouTube. There are a ton of videos and resources on this topic.
Here’s a quick clip of me using the miter saw to trim down my wood.
https://youtu.be/5pAnwBgljCc
Luckily, I came out with all my fingers. This is type of learning situation where trying to learn this exclusively online might not be the best. Having someone who is experienced guide you through the process would be smart, especially if they know the tools and can keep you from avoiding injury. Once you get the hang of it, using these tools on your own wouldn’t be a huge concern.